How to publish your Python project documentation on Read the Docs
05-04-2023
Introduction
In our day-to-day work, we collaborate on a Python project, which consists of a library that we want to make open source. After several months of work, we reached the current stage of publishing the library, and we also needed to publish the documentation that we generated with Sphinx. After some research, we realized that most well-known Python libraries publish their documentation on Read the Docs. In this article, we will explain what Read the Docs is, how it works, and we will provide an example of how you can integrate it into your project. So, let's get started.
What is Read the Docs?
Read the Docs is a platform where we can host documentation for open source projects for free. The documentation is displayed under the readthedocs.io domain in HTML format, although the platform also allows us to generate it in PDF format.
It is important to note that Read the Docs only allows us to automate the generation of this documentation if we use Sphinx or Mkdocs. But how does this actually work?
How does it work?
Read the Docs is responsible for generating and publishing documentation in three main stages:
- It obtains the source code of the project, usually thanks to integration with Github, Gitlab, or Bitbucket.
- Once the source code has been obtained, Read the Docs starts a Docker container where it uses Sphinx or Mkdocs to generate the project's documentation in HTML format or PDF if specified.
- Next, Read the Docs verifies that the documentation has been generated correctly and that there are no errors or problems.
- If the documentation has been successfully built, it is automatically published on a website hosted by them.
Now that we know the stages that the platform performs to publish the documentation, let's see how we can integrate it into our project.
How to integrate it into your Python project?
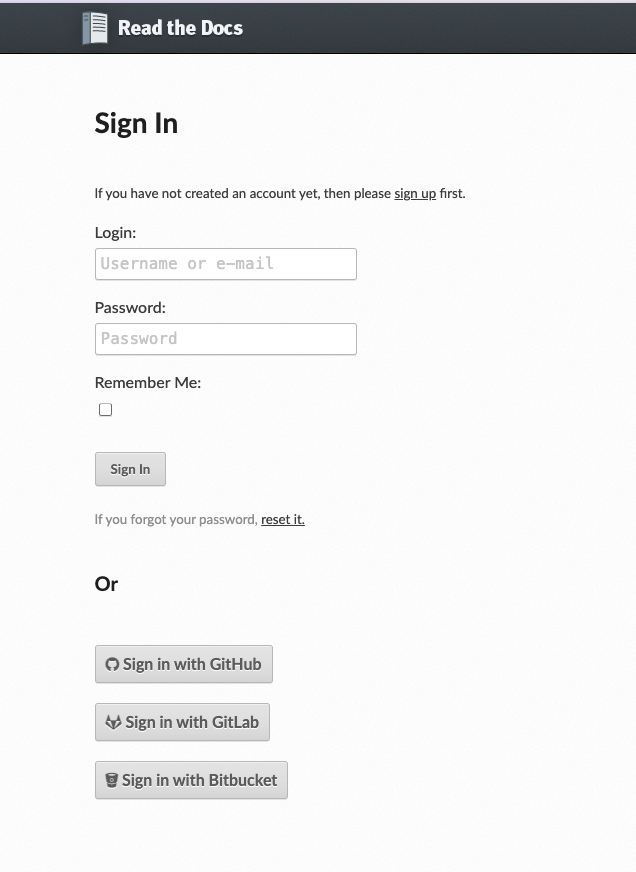
If we log in to Read the Docs with our Git provider (Bitbucket in this case), we can connect our project (which must be public) to this platform. Thus, every time we push changes to master, the documentation will be automatically updated.

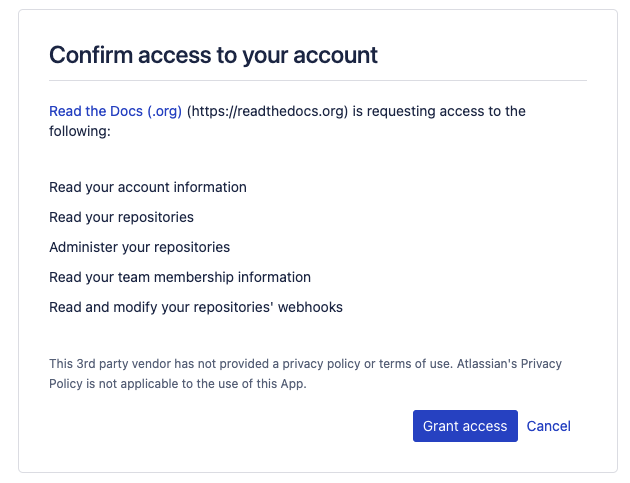
Once we have logged in, we need to grant access to read the source code.

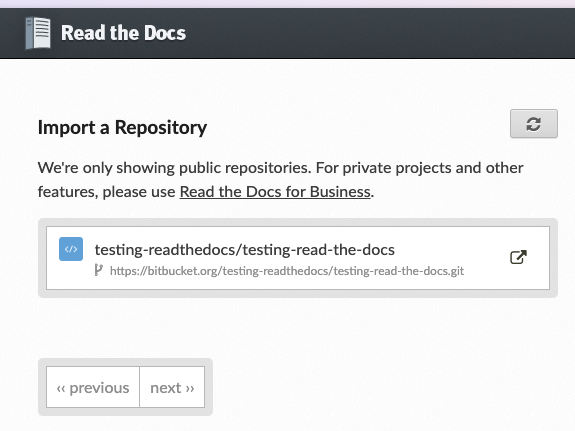
Afterwards, we will have to fill in our username and email address. Finally, a list of the projects we have in our Bitbucket will appear. We can import any project by clicking the arrow to the right of its name.

The first step is to install Sphinx, and a link to a guide on how to install it is provided in this link.
After linking the project to Read the Docs, the conf.py file located in the docs folder should be edited to specify any desired documentation details such as color palette, project authors, copyright, etc.
  # -- Project information -----------------------------------------------------
  # https://www.sphinx-doc.org/en/master/usage/configuration.html#project-information

  project = 'Testing read the docs'
  copyright = '2023, Ana Caceres & Maria Guerra'
  author = 'Ana Caceres & Maria Guerra'

  # -- General configuration ---------------------------------------------------
  # https://www.sphinx-doc.org/en/master/usage/configuration.html#general-configuration

  extensions = []

  templates_path = ['_templates']
  exclude_patterns = ['_build', 'Thumbs.db', '.DS_Store']

  # -- Options for HTML output -------------------------------------------------
  # https://www.sphinx-doc.org/en/master/usage/configuration.html#options-for-html-output

  html_theme = 'alabaster'
  html_static_path = ['_static']
It should be noted that the conf.py file must be in the same directory as index.rst. If it is not, Read the Docs will not be able to find the starting file and will give an error when loading the documentation (unless we specify the directory where that file is located in the documentation URL). In our case, the .rst files, which are generated by a script, are placed in the docs/source folder. That's why we added the following line to that script:
copyfile("conf.py", Path("source", "conf.py"))
Next, we create the .readthedocs.yaml file in the root directory of our project. This file allows us to add the configuration that Read the Docs needs to generate the documentation for our specific project, such as the Python version or specific packages.
  # .readthedocs.yaml
  # Read the Docs configuration file
  # See https://docs.readthedocs.io/en/stable/config-file/v2.html for details

  # Required
  version: 2

  # Set the version of Python and other tools you might need
  build:
    os: ubuntu-22.04
    tools:
      python: "3.10"
    jobs:
      pre_build:
        - make doc

  # Build documentation in the docs/ directory with Sphinx
  sphinx:
      configuration: docs/source/conf.py
There are many tags that allow us to configure this file. In this case, we have used pre_build to create the documentation files with the RST structure, that is, to run our script.
If we upload all these changes to Bitbucket in the main branch, the documentation on Read the Docs will be automatically updated and published.
How to customize documentation building on Read the Docs?
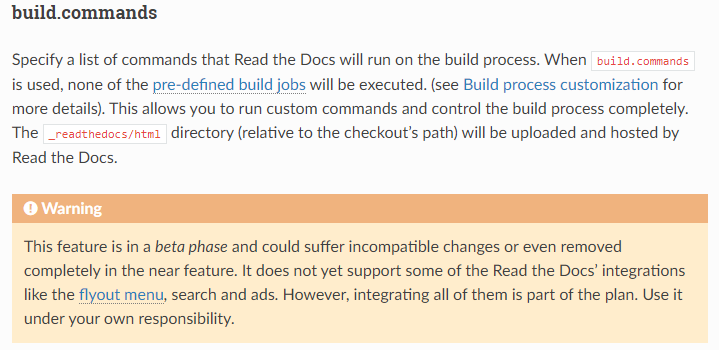
Read the Docs runs its own commands to generate the documentation. If we want to customize the building of our documentation, we have to use the commands tag in the .readthedocs.yaml file:
    version: 2

    build:
      os: ubuntu-22.04
      tools:
        python: "3.10"
      commands:
        - pip install numpy
    		- make html
        - mkdir --parents _readthedocs/html/
    		- cp --recursive docs/build/* _readthedocs/html/
This tag is still in beta phase and we must bear in mind that, when we use it, we cannot add the **jobs** tag.

Additionally, the option to install packages with apt-get when using the commands tag is not yet implemented, although there is an open issue in the project for this. For now, it is only possible to install packages with pip within this tag.
This limitation posed a problem for us, since we needed to install the sage package to generate our documentation, and this package cannot yet be installed with pip. Therefore, we had to perform a workaround in which we generated the HTML documentation locally and added it to the repository. This triggers execution on Read the Docs, for which we have only configured it to copy our already generated HTML files into the _readthedocs/html/ folder, which is the folder the platform looks for when publishing documentation on its domain.
If you encounter a similar problem with any of your packages, you can probably automate the generation of HTML by using Github actions or Bitbucket pipelines and their respective APIs to add this generated documentation to the repository and avoid manual generation. This is the next step we want to add to our integration process with Read the Docs.
Conclusion
As we can see, although Read the Docs can greatly facilitate our documentation publication work, it is not all sunshine and rainbows, as it also has its limitations. Therefore, it is important to remember that we must investigate how the tools we want to integrate into our project work to find the solution that best suits our problem.
We hope that this article has been useful to you in understanding how Read the Docs works, the existing functionalities, and those that are coming for its documentation generation automation process, and that you have been able to successfully publish the documentation of your Python project on this platform.
